Going to the “Media Files” admin settings section, many newcomers probably looked with bewilderment at the image sizes presented there and did not quite understand what exactly it all meant. Today I will try to clarify some aspects related to these parameters: I will tell you why they are needed, how to remove unnecessary ones and add your own values. This information will be useful not only for general development, but will also allow you to slightly optimize/speed up your web project.
The optimal size of images directly depends on where it will be placed. Let’s say you select beautiful graphics for your website and search for the image on the Internet, and then want to upload it to your web project. At the same time, the images in the header should be of the highest quality and large, while the requirements for thumbnails are much more modest – it is not necessary to use large photos for thumbnails. Moreover, if you have a lot of large, heavy media files on the page, this will significantly slow down its loading.
Why do WordPress have so many image sizes?
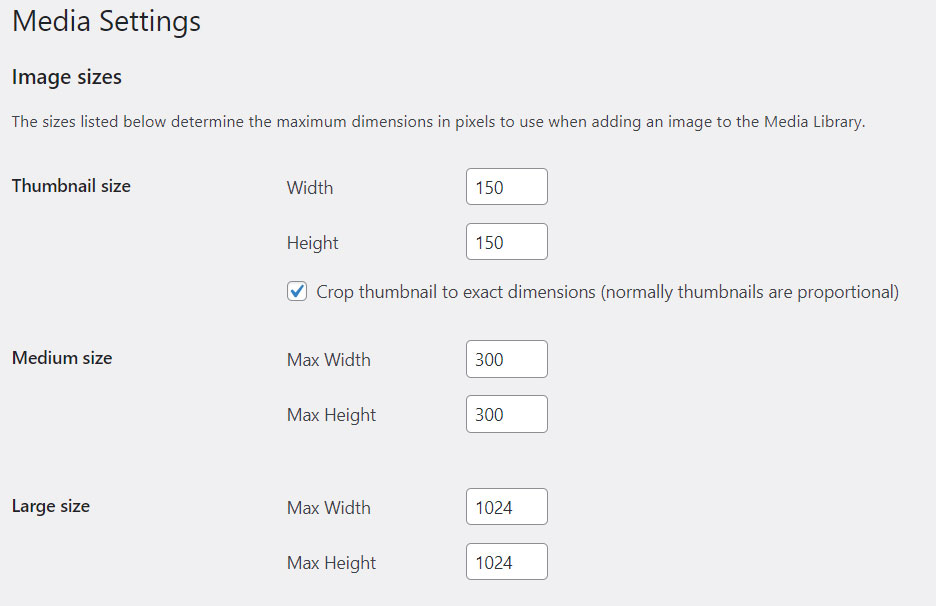
Based on the conclusions stated above, it becomes clear why the WordPress developers provided several different image sizes in the system (see the picture above) with the following default values:
Thumbnails – square 150x150px; Medium – with a maximum width/height value of 300px; Large size – 1024px maximum height/width;
The full original size of the file you uploaded. Immediately after uploading the file through the admin panel to the Media Library, the system will create several copies of it on the hosting in the appropriate sizes. If you go to the /wp-content/uploads folder you can see them.
Here, for the original file new_pict.jpg, 3 more new JPGs were created. Moreover, if you look at the first screenshot, you will see that for the preview I have the “crop thumbnail” option enabled, so the final image will be square. At the same time, for medium/large, the proportions are preserved, and one of the sizes (width/height) will be fixed, and the second will not.
In addition to these copies, you can find more variants of drawings on FTP, because In addition to the system itself, template developers can also add new formats. Or, when the picture is small enough initially, a large format will not be created.
In general, using this WordPress mechanism, template and website creators can choose which image format to use, for example, for a list of posts in the sidebar and a photo in the article itself. In this case, the graphics themselves will look absolutely normal, and the web page will load faster.
How to add your own image sizes ?
But what to do when you want to add some new unique size of photos to the template, for example, for a gallery, widgets, banners, etc.?
To do this, we use the add_image_size function, which is added to the functions.php file. Its syntax is as follows:
add_image_size( 'our-new-size', 400, 200 );
If you need a clear match to the size, then specify “true” for the last parameter:
add_image_size( 'our-new-size', 400, 200, true );
By the way, you can choose which side the photo will be cropped on. The following code removes part of the image from the top right:
Available values for the crop array: center, top bottom, left, right. You cannot use standard names in titles: large, medium, thumbnail, thumb and post-thumbnail.